Quick links to procedures on this page:
• |
• |
• |
• |
Bitmap fills are bitmaps that you can use to fill an object or image. You can fill an area with a single bitmap. You can also tile, or repeat, a small bitmap across an area to create a seamless pattern.
You can fill images with preset bitmap fills, or you can create custom bitmap fills from saved images or editable areas. For more information about defining editable areas, see Defining editable areas.
It is best to use less complex bitmaps for fills, because complex bitmaps are memory-intensive and slow to display. The complexity of a bitmap is determined by its size, resolution, and bit depth.
CorelDRAW Graphics Suite X6 provides a collection of bitmap fills that you can access and use. For information about accessing bitmap fills, see Accessing content.
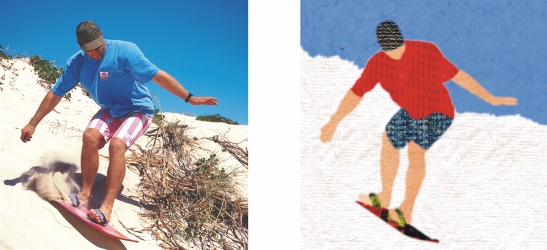
Bitmap fills can be used to create interesting backgrounds and textures.
| To apply a bitmap fill |
1. |
In the toolbox, click the Fill tool |
If you want to fill an object, you must select it by using the Object pick tool |
2. |
Click the Bitmap fill button |
3. |
Click the Edit fill button |
4. |
In the Bitmap fill dialog box, open the Bitmap fill picker, and click a fill.
|
5. |
Specify the attributes you want.
|
6. |
Click OK.
|
7. |
Click where you want to apply the fill in the image.
|
Merge modes control the way the foreground or fill color blends with the base
color of the image. You can change the merge mode setting from the default
(Normal) for specific blending purposes. For more information about merge
modes, see Understanding merge modes.
|
To apply a fill to a text object, you can first render the text as an editable area
by selecting the text object with the Text tool |
| To tile a bitmap fill |
1. |
In the toolbox, click the Fill tool |
2. |
Click the Bitmap fill button |
3. |
Click the Edit fill button |
4. |
In the Bitmap fill dialog box, open the Bitmap fill picker, and click a fill.
|
5. |
In the Size area, disable the Use original size and Scale bitmap to fit check
boxes.
|
6. |
Type values in the Width and Height boxes to specify the size of bitmap tiles.
|
To fill an image with a single, large bitmap, enable the Scale bitmap to fit
check box in the Size area.
|
| To create a bitmap fill from an editable area |
1. |
Define an editable area.
|
2. |
Click Edit |
3. |
Choose the folder where you want to save the file.
|
4. |
Type a filename in the File name box.
|
The bitmap fill you create is added to the Bitmap fill picker. |
| To import a bitmap fill |
1. |
In the toolbox, click the Fill tool |
2. |
Click the Bitmap fill button |
3. |
Click the Edit fill button |
4. |
In the Bitmap fill dialog box, click the Load button.
|
5. |
In the Load bitmap fill dialog box, choose the folder, disk, or CD where the file is
stored.
|
6. |
Double-click the filename.
|
Thumbnail images of the bitmap files you import are added to the Bitmap fill
picker.
|
|
|
Copyright 2012 Corel Corporation. All rights reserved.