Opacity controls
Opacity lets you control how Corel Painter varies the density of the media that you apply to the canvas. The Opacity controls let you set opacity levels for the currently selected brush.
You can also use the Expression settings to link opacity to various stylus or mouse movements. For example, you can link the opacity of an Airbrush variant to stylus pressure. Heavier pressure produces more opaque strokes. For more information, see Expression settings.
You can also adjust the Min setting to specify the range of variability that you want the expression to apply. The Min Opacity setting represents a percentage of the Opacity setting and it must be linked to an expression to have an effect. For example, if you choose the Pressure expression on the Opacity panel, set the Opacity slider to 20%, and then set the Min Opacity slider to 50%, the opacity will vary from 10% to 20% every time you apply pressure during a brushstroke.
You can increase the variation of the opacity effect by adjusting Opacity Jitter, which enhances the natural appearance of brushstrokes. You can also use the Smoothness slider to smooth the opacity variation in a brushstroke for a more organic look.

Soft airbrush brushstrokes without Opacity Jitter (left) and with Opacity Jitter (right)
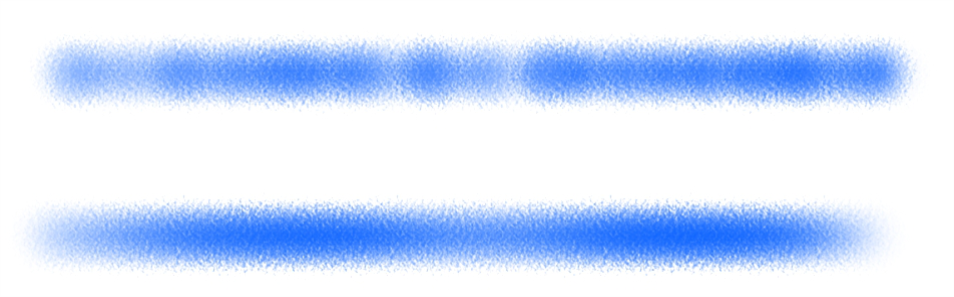
Opacity Jitter applied to a brushstroke without jitter smoothing (top) and with jitter smoothing (bottom)
Audio Expression lets you link opacity to audio input from your microphone, or internal audio such as streaming music. The brushstroke becomes more or less opaque as the strength of the audio signal changes.

Using audio input to vary the opacity of a brushstroke (right)
To set brush opacity
|
To choose an audio input and adjust audio settings, choose Window
|
When adjusting Opacity Jitter, make sure the Min Opacity slider is not set to 100%. Setting the Min Opacity to 100% stops Opacity Jitter from occurring.
You can also set brush opacity dynamically onscreen. For more information, see To set brush attributes onscreen.