Adjust color and tone
CorelDRAW lets you adjust the color and tone of bitmaps. For example, you can replace colors and adjust the brightness, lightness, and intensity of colors.
By adjusting tone and color, you can restore detail lost in shadows or highlights, remove color casts, correct underexposure or overexposure, and generally improve the quality of the bitmaps. You can also correct color and tone quickly by using the Image Adjustment Lab. For more information, see Image Adjustment Lab.
You can adjust the color and tone of bitmaps automatically by using the Auto Adjust command or by using the following filters.
|
Gamma is a method of tonal correction that takes the human eye's perception of neighboring pixels into account. For example, if you were to place a 10 percent gray circle on a black background and an identical gray circle on a white background, the circle surrounded by black appears lighter to the human eye than the circle surrounded by white even though the brightness values are identical. The Gamma effect lets you pick up detail in a low contrast image without significantly affecting the shadows or highlights. It affects the values in the image but it is curve-based so that the changes are weighted toward the midtones.
|
|
|
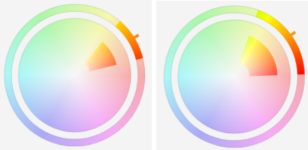
Lets you adjust the color channels in a bitmap and change the position of colors in the spectrum. This effect allows you to change colors and their richness, as well as the percentage of white in an image. Hue represents the dominant color (red, green, blue, yellow, and so on), saturation is the amount or richness of this color, and lightness represents the overall percentage of white in an image.
|
|
|
Lets you enhance contrast near edges to reveal detail in both light and dark regions. This process can produce artificial contrast variations in the center of relatively uniform regions. You can correct this by expanding the region so that it is larger than any uniform area in the image. You can set the height and width of the region around the pixels to accentuate contrast. To maintain equal proportions, enable the Lock button
|
|
|
The Replace colors filter lets you replace one or more colors in an image, selection, or object. When you select the color you want to replace, the application automatically selects a range of similar colors to be replaced. You can select the original and replacement colors from the image or from a color picker. To add or remove colors from the selection, you can adjust the hue and saturation range. You can also select and replace a single color. To prevent abrupt color changes, you can smooth the transition between selected and unselected pixels. You can also set the hue, saturation, and lightness for the new color.
|
|
|
Lets you adjust color values in a bitmap with sample colors taken from the image. You can choose sample colors from the dark, midtone, and light ranges of an image and apply target colors to each of the sample colors. For example, you can increase the contrast in a bitmap by choosing the darkest and lightest tones in a bitmap and mapping them to black and white respectively. After you choose sample colors from the dark, midtone, and light ranges of the image and assign a target color to each sample color, the pixels with the same color as the sample colors adjust to display the corresponding target color.
|
|
|
Lets you change color by changing the percentage of spectrum CMYK process colors from the red, yellow, green, cyan, blue, and magenta color spectrum in a bitmap. This filter also lets you add process color to the grayscale tonal component of an image. Selective color modifications increase and decrease the percentage of cyan, magenta, yellow, and black pixels that make up each primary color in the color spectrum. For example, decreasing the percentage of magenta in the reds spectrum results in a color shift toward yellow. Conversely, increasing the percentage of magenta in the reds spectrum causes a color shift toward magenta and an overall increase in red. The extent of color modification depends on the adjustment percentage method you choose.
|
|
|
Lets you perform color corrections precisely, by controlling individual pixel values. By changing pixel brightness values, you can make changes to shadows, midtones, and highlights. For more information, see Tone Curve filter.
|
By default, the application shows a live preview of the image in the document window as you change the settings in the filter dialog box. However, if you zoom in on the image in the document window to get a closer look at a specific area, but you still want to be able to evaluate the changes in the entire image, you can preview the image in the dialog box. For more information about previewing images in the dialog boxes of bitmap effects, see To apply a bitmap effect to an image area.
To adjust color and tone automatically
To adjust the brightness, contrast, and intensity
Adjusting the brightness, contrast, and intensity lets you improve the clarity and quality of the image.
Brightness shifts all pixel values up or down the tonal range, lightening or darkening all colors equally.
Contrast adjusts the difference between light and dark colors.
Intensity brightens the light areas of the drawing or darkens the dark areas.
Contrast and intensity usually go hand-in-hand because an increase in contrast sometimes washes out detail in shadows and highlights, and an increase in intensity can bring it back.
To adjust the color balance
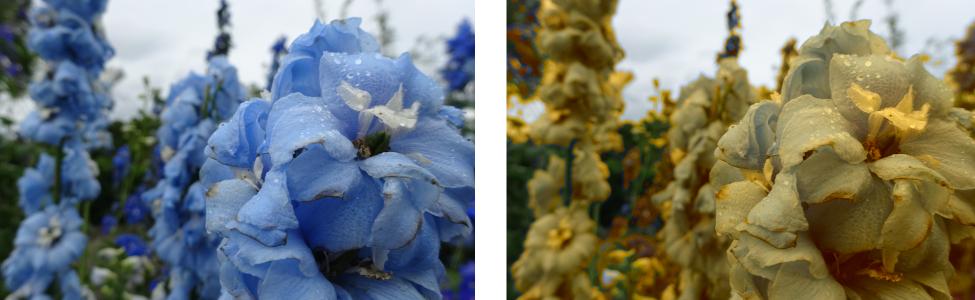
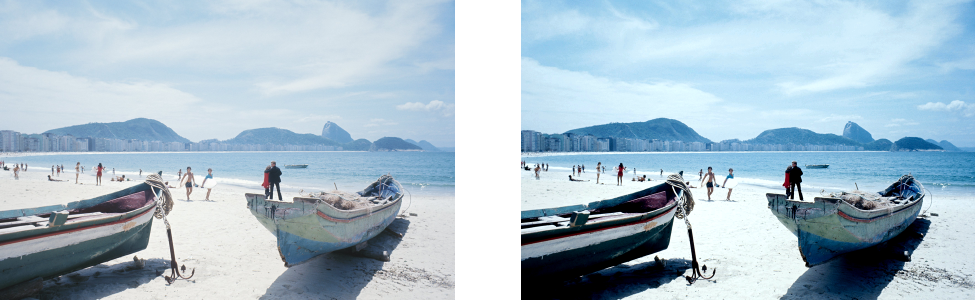
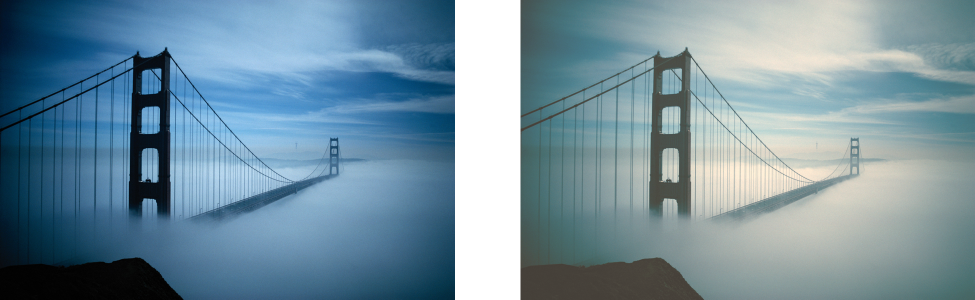
The Color balance effect has been used to shift the colors in the image from blue to yellow.
To apply the Gamma effect

Adjusting the midtones lets you increase the detail in a low-contrast image without affecting the shadows or highlights.
To adjust hue, saturation, and lightness

Use the Hue/saturation/lightness effect to change the colors in an image.
To replace colors
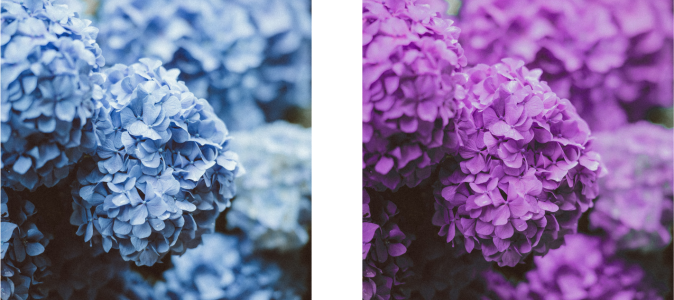
The Replace colors effect has been applied to replace all instances of the color blue with purple.
To preview the image in the dialog box, click the Preview button ![]() . For more information about previewing images while adjusting settings, see To apply a bitmap effect to an object.
. For more information about previewing images while adjusting settings, see To apply a bitmap effect to an object.
Some versions of CorelDRAW let you use only an earlier version of this filter, which is known as Replace Colors (Legacy).
The Replace Colors (Legacy) filter also lets you edit Replace Colors adjustments to images that are saved to the previous version of CorelDRAW.
To apply the Sample/Target Balance effect
The shadows, midtones, and highlights in the image have been adjusted by mapping a sample color in the bitmap to a target color.
Enable the Clip automatically check box to set the range of the histogram display and ensure that all spikes fit on the chart. When the Clip automatically check box is disabled, use the Clipping box to set the percentage of brightness values that are ignored when identifying the light and dark colors in the histogram.