Quick links to procedures on this page:
• |
You can apply a transformed sample by filling, instead of using a brush. Filling allows you to cover a large area evenly, without much effort. Filling is supported only when you use perspective or bilinear sampling, with or without tiling.
To apply a transformed sample as a fill, you need to set both sample source and destination reference points, as you would when applying a sample with a brush. For information, see Applying Transformations When Sampling.
If you want to save the sample source reference area as a pattern for future use, you can capture the pattern. For more information, see Creating and Editing Patterns.
| To fill with a transformed source image |
1 |
Click the Brush Selector on the Brush Selector bar.
|
2 |
In the Brush Library panel, click the Cloners category, and click a brush variant
that allows you to select four sample source and destination points:
|
• |
XPerspective 4P
|
• |
XPerspective Tiling 4P
|
• |
XBilenear 4P
|
3 |
Choose Window |
4 |
In the Cloning panel, enable the Clone Color check box.
|
5 |
Hold down Option (Mac OS) or Alt (Windows), and click to set the four sample
source reference points.
|
6 |
Hold down Option + Shift (Mac OS) or Alt + Shift (Windows), and click to set
the four destination reference points.
|
7 |
Click the Paint Bucket tool |
8 |
Choose Source Image from the Fill list box on the property bar.
|
9 |
Click in the destination area to apply the fill.
|
You can disable offset sampling by clicking the Clone Color button in the Color panel or by clicking the Brush Selector on the Brush Selector bar, and choosing a non-Cloner brush variant. |

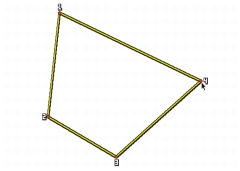
The destination points determine where the transformation occurs.

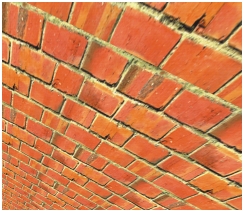
By using transformed clone information, the brick pattern becomes a steep wall.
|
|
Copyright 2012 Corel Corporation. All rights reserved.